For me, gardening brings back a lot of great childhood memories. We grew up with a huge fruit & vegetable garden in our backyard. I spent countless hours out there with my Mom and Gram.
**This post contains affiliate links. Please see my Privacy Policy and Disclosures Statement for more information.**
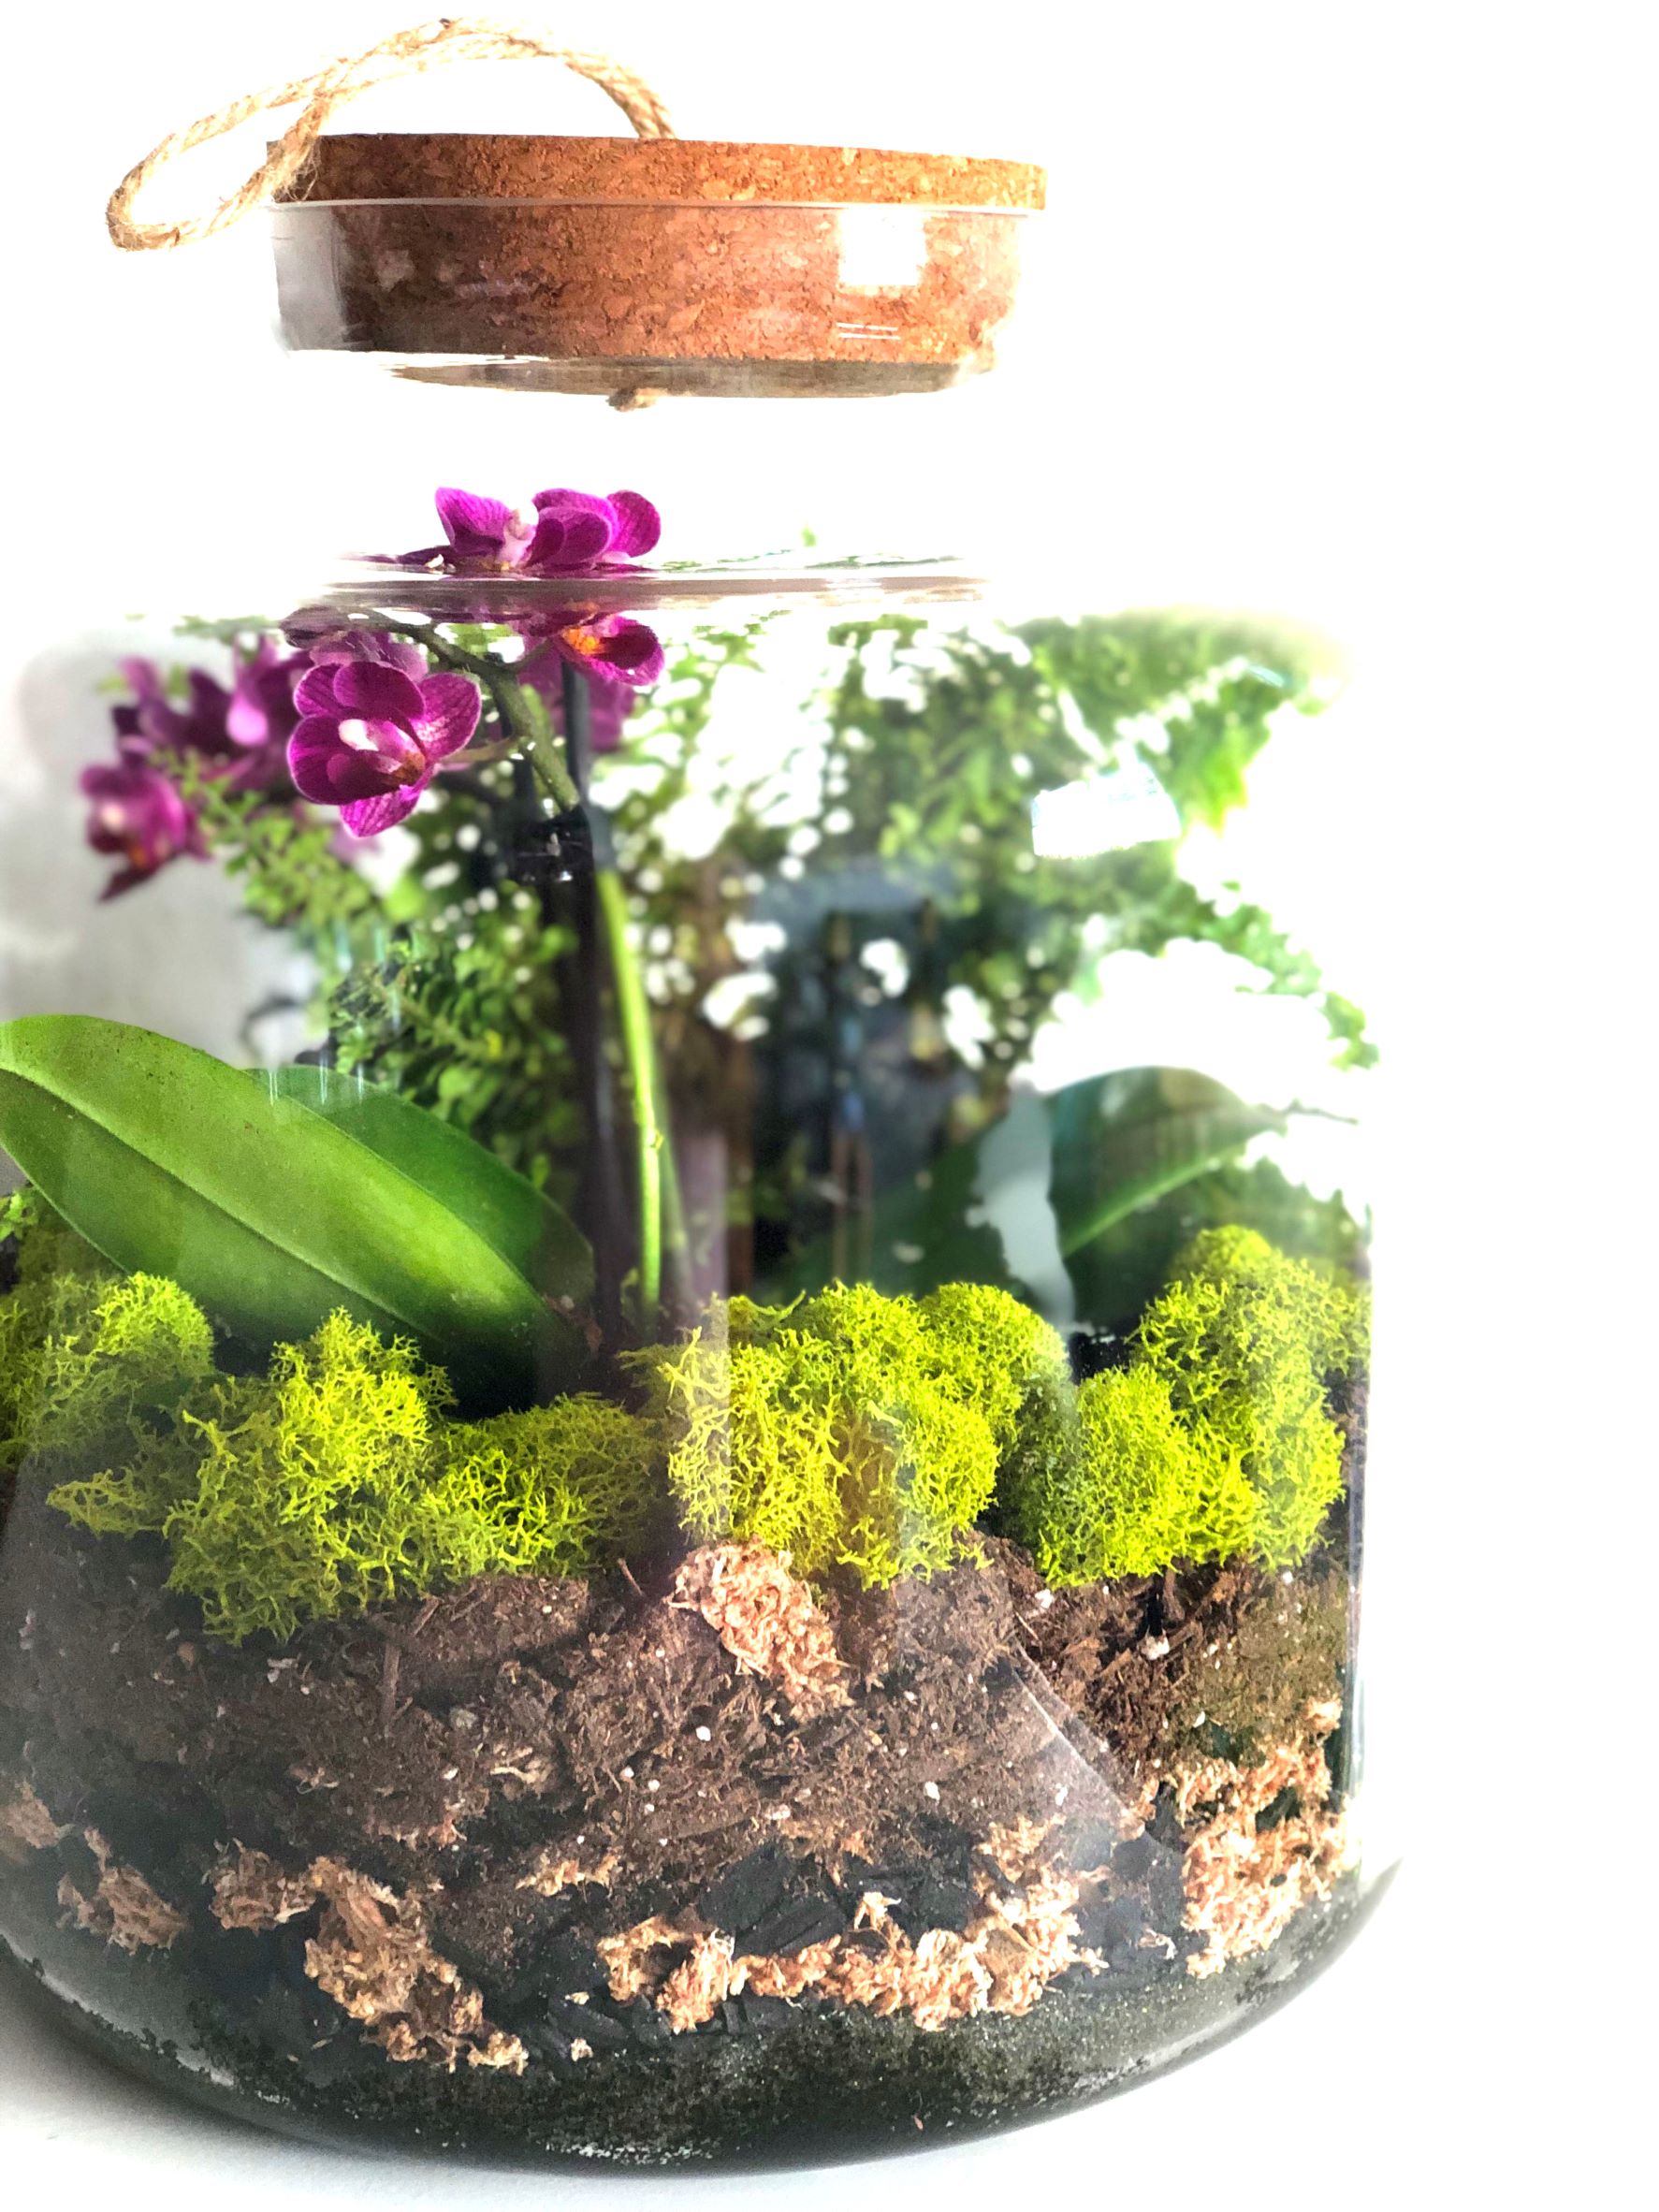
Although I don’t currently have an outdoor garden, you’ll still find plenty of plants sprinkled throughout my house. When we found this cute terrarium container, my son and I knew exactly what our weekend project would be!

What to Know
Although you’ll need to purchase quite a few items to make all of your terrarium layers, all of the items are inexpensive. They will provide you with enough supply to make multiple terrariums!
When choosing a terrarium, pay attention to the size of the opening. You will need to have a big enough opening to get everything in there and be able to arrange your plants! Although the opening on ours seemed like it would be plenty big enough, it was still tricky arranging the plants in there!
Once you water your terrarium a few times, the growing mediums will settle a little and there will be a bit more space for plants. I had originally chosen three plants for mine but only ended up fitting two!

This is a great Earth Day project for kids too! Although it can be a bit messy, it’s always fun for kids to get their hands dirty and learn about plants.
If you keep your terrarium closed, it won’t need to be watered very often at all! I like to open mine every few days so I just keep an eye on how much moisture I see in the sand. Orchids like to have their roots nearly dry before being watered again. Make sure to not overwater your terrarium.

What You Will Need
terrarium with lid
black terrarium sand (or whichever color you like)
plants – such as orchids, ferns and other tropical plants

How to Make a Terrarium
Begin by cleaning your terrarium. Make sure to remove any stickers and wipe the inside and outside clean. Do this with an environment friendly cleaner or even warm water with a little vinegar added. Don’t use anything that would be harmful to your plants.
After this, carefully place a layer of small stones in the bottom of your terrarium. Pour enough sand over the rocks to fill in the spaces.
Next, make a thin layer of activated charcoal.
The rocks, sand and activated charcoal will help with the drainage in your terrarium. They will keep excess water from the roots of your plants.
Next up, the sphagnum moss. This moss will hold in just enough moisture for the roots of your plants.
At this point you will want to arrange your plants in the terrarium. Once you have the plants where you would like them, add more potting soil around the plants to make the soil level in the terrarium even with the plants that you just added.
After you’ve planted your plants, top the soil with more of the stones and some of the decorative moss to make everything look just as you want it!

Comment below and let me know how your terrarium came out after reading my post on how to create your own terrarium!
Click on the links below to shop some of the products that I used to make this terrarium!
Related Posts
My Fresh Salsa Recipe
Salsa and tortilla chips are two things that you will ALWAYS find at our house. …
April 26, 202220 Tips for Traveling on Flights with Kids
Whether your kids are well traveled or they are about to embark on their first …
February 19, 2022


